Accept an Admin Invitation
Organizations can send invitations to staff members, allowing them to create admin accounts. When you receive your invitation, you will have seven days to use it to create your username and password. Then, you can log in to the Admin Area to start working in WHMCS.
After you log in to the WHMCS Admin Area, you can perform tasks like viewing reports, responding to support tickets, or managing client orders. Your access to WHMCS features depends on your administrator role.
Accept an Invitation
To accept your invitation and start using WHMCS:
1. Click Accept Invitation.
Find and open the invitation email in your email inbox. By default, the email’s subject is You've been invited to use WHMCS.
In your invitation email, click Accept Invitation.
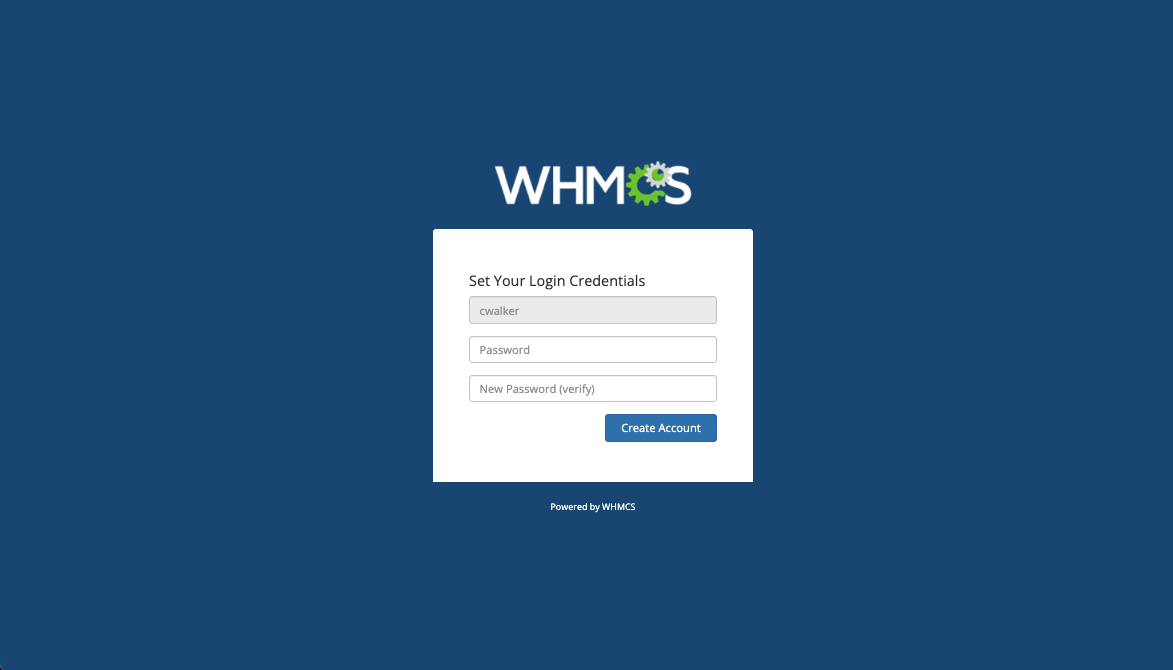
2. Enter a username and password.
Enter your desired username and password. Then, reenter the password to confirm it.

- If the admin who sent your invitation already set a username for you, you cannot change it.
- Admin usernames must:
- Begin with a letter (
A–Zora–z). - Contain only alphanumeric characters.
- Not include spaces or other special characters.
- Begin with a letter (
- We recommend a long password that includes numbers, symbols, and lowercase and uppercase letters.
- Passwords cannot use the following characters:
&,",',<, or>.
3. Click Create Account.
Click Create Account.

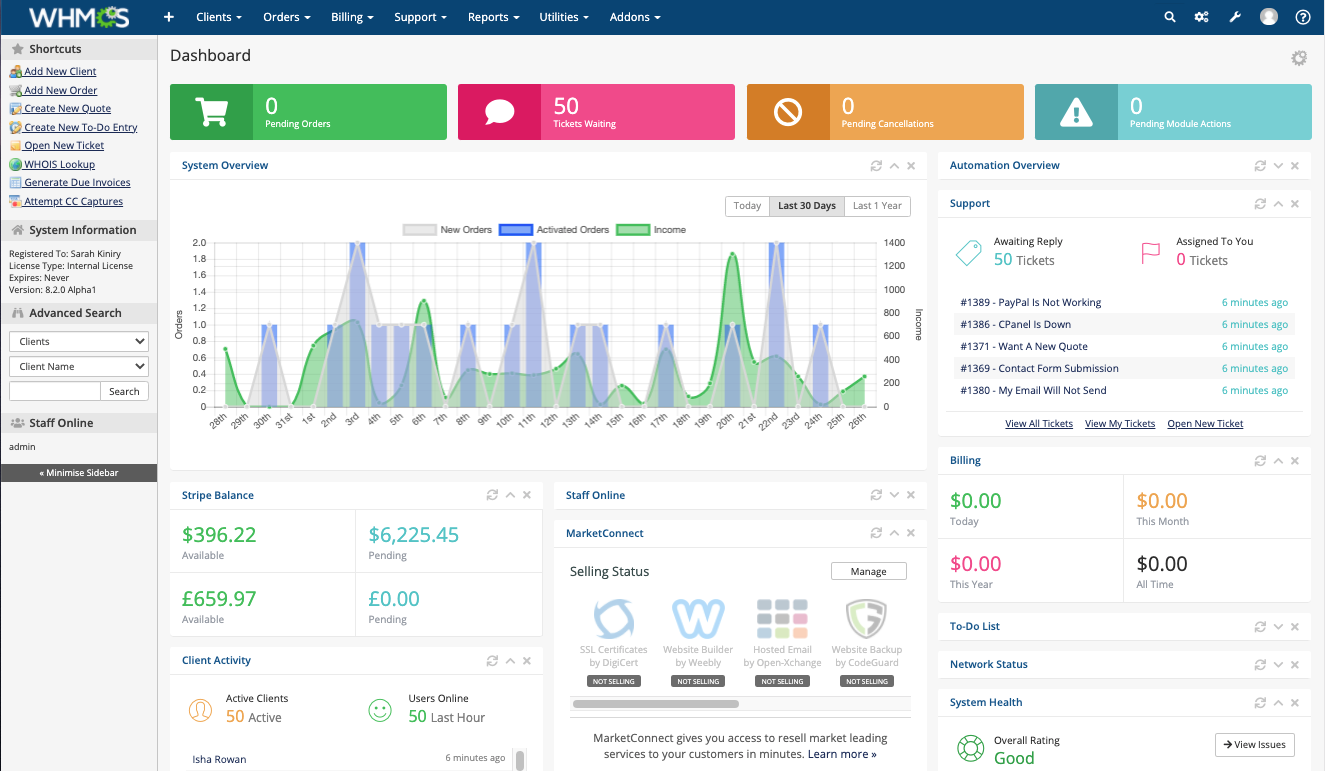
The system will log you in to the WHMCS Admin Area and you will see the Admin Dashboard.
Next Steps
Now, you can start using WHMCS. Your access in WHMCS depends on your administrator role. However, most new admins start with the following important features in WHMCS:
Configure Your Admin Settings
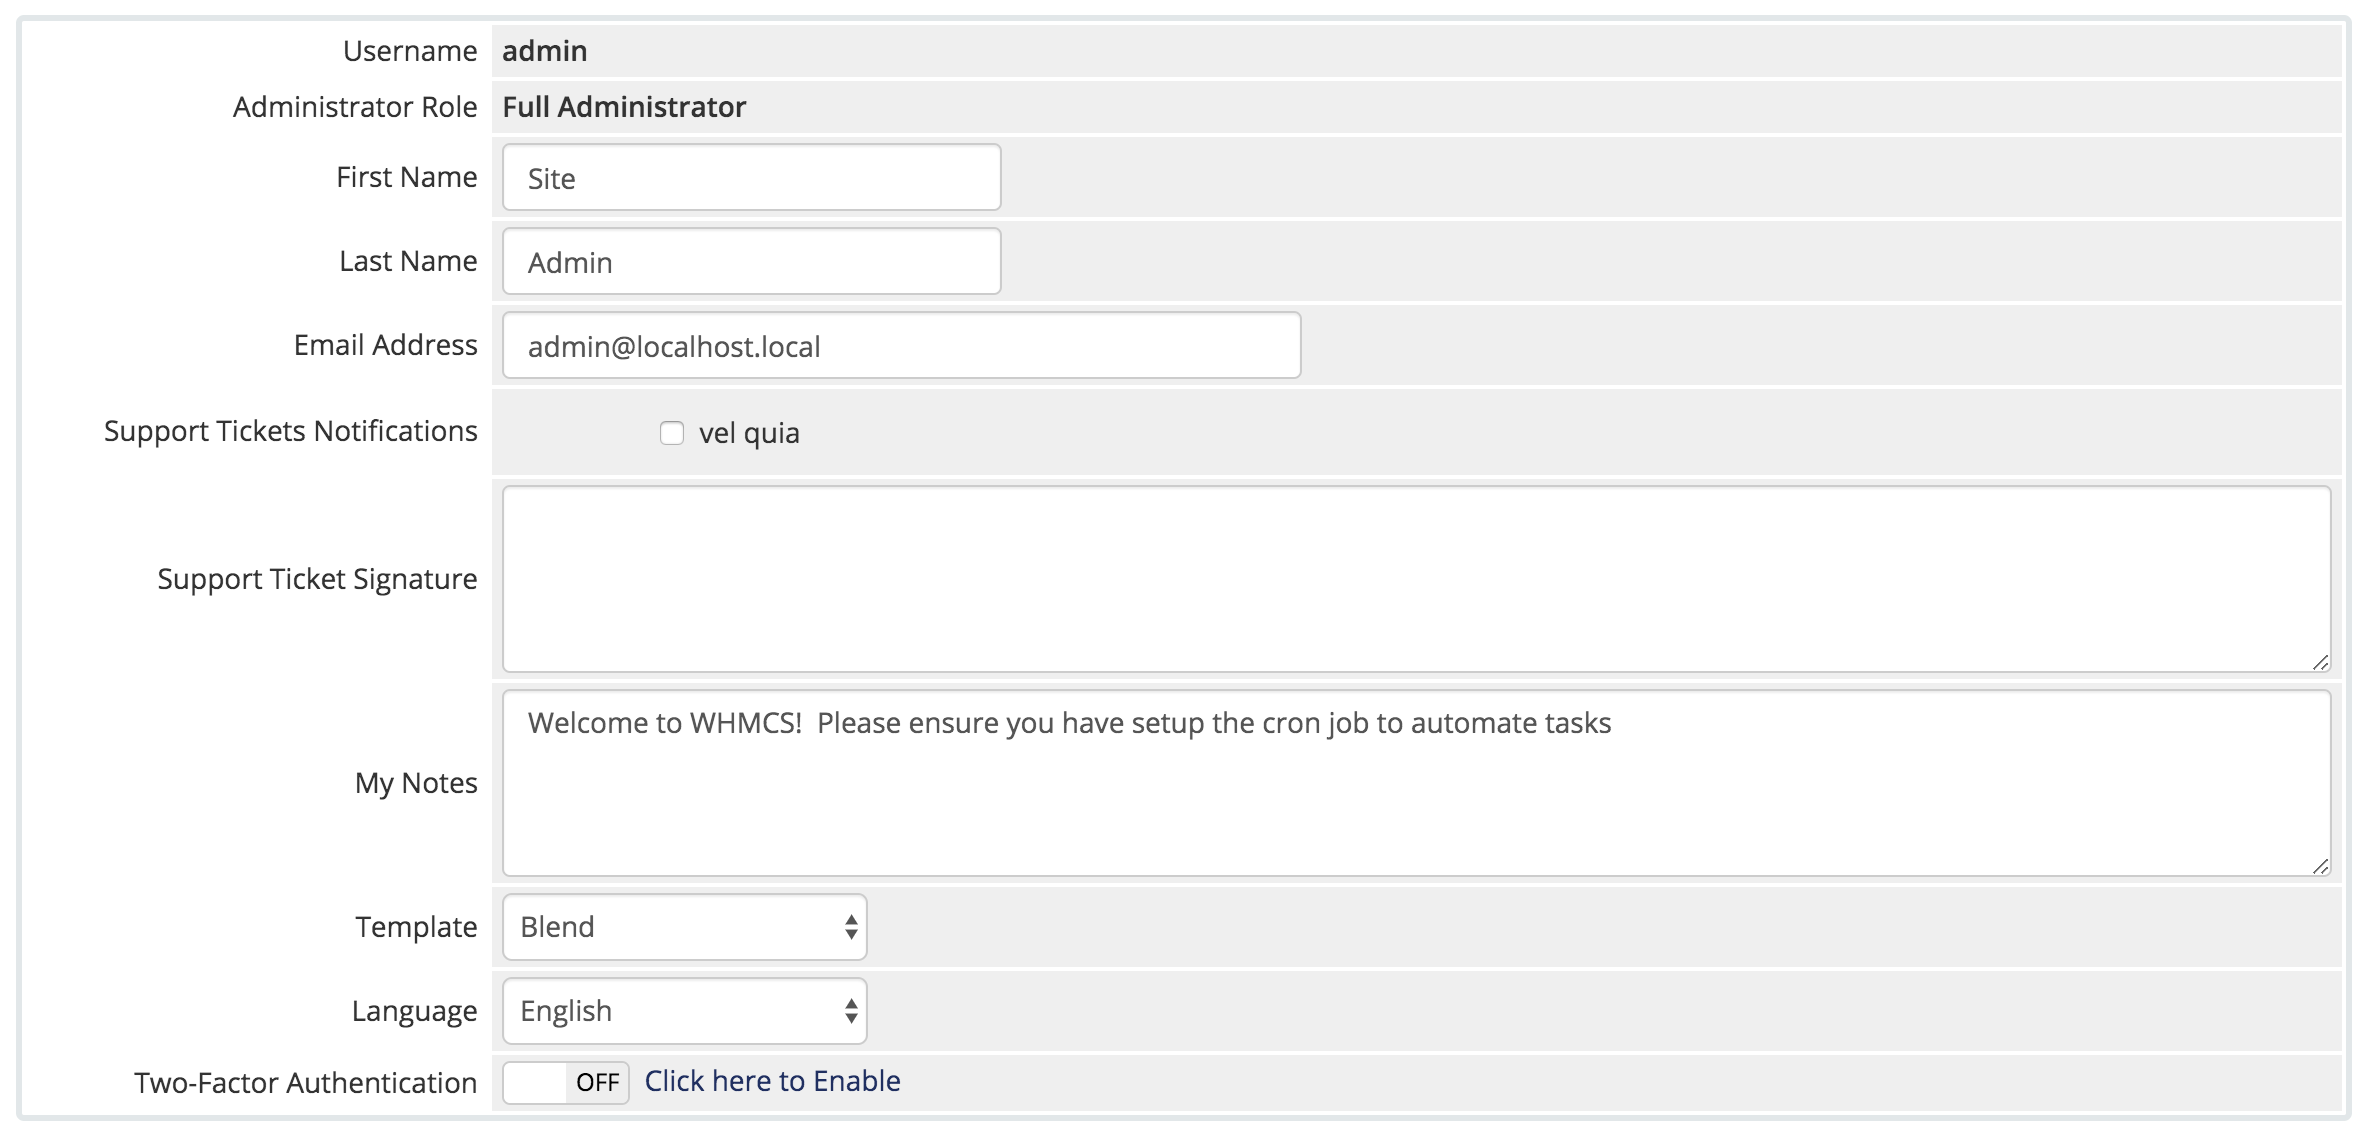
You can easily configure your admin account by going to Account () > My Account.

From here, you can set up notifications for your departments, set a signature to use in ticket replies, and choose your language.
- For enhanced security, we recommend enabling Two-Factor Authentication.
- If your admin email address is also associated with a Gravatar account, the system will display the avatar image in the Admin Dashboard’s Staff Online widget.
Get to Know The Support System

The support system at Support > Support Tickets is a fully-featured ticket desk that can handle all of your client communication. It also includes a built-in knowledgebase, features for making general announcements and reporting network issues, and more.
Start Managing Clients

WHMCS stores information about your business’s customers in their client profiles. From each profile, you can easily access services, invoices, ticket history, and more.
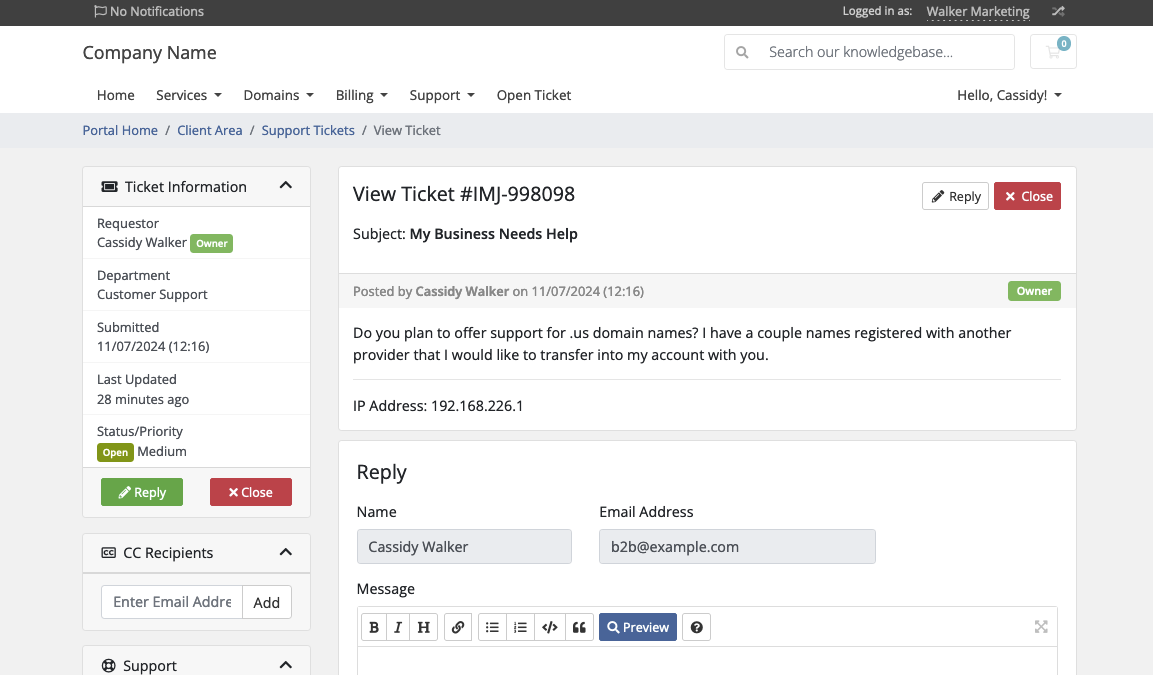
To allow your customers to log in and manage their services with you, WHMCS includes a user management system. Each user can log in to the Client Area, which contains current and past services, billing information, and support tickets.
View Reports
WHMCS includes a wide range of reports and in-depth analytics on your business’s activities. Many reports also include graphs and charts to help you interpret the data.
Last modified: 2025 March 19