Configure PayPal Payments
Payment gateways allow you to accept credit cards, debit cards, and many other payment methods through WHMCS. If you want to accept payments from your customers, you need to activate and configure at least one payment gateway.
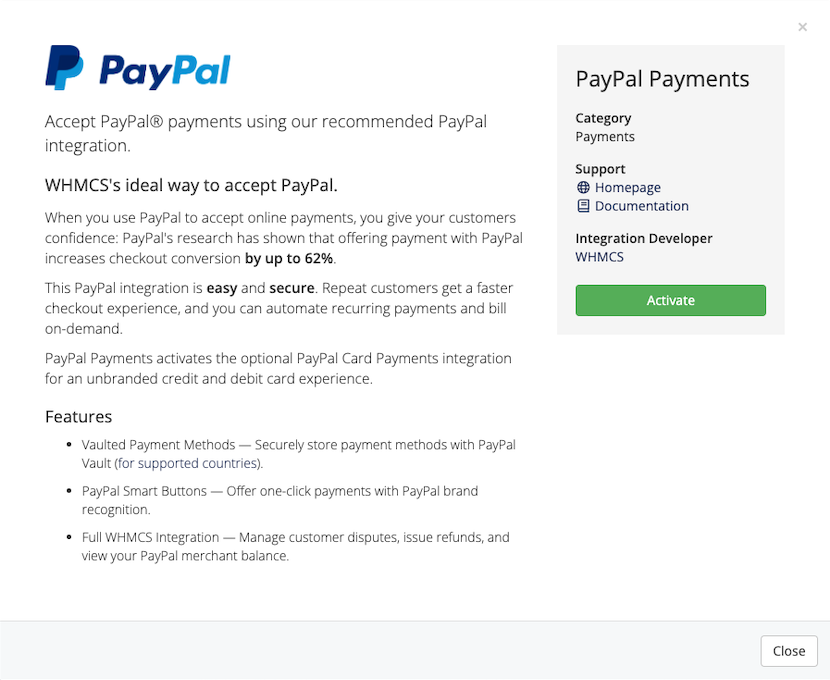
WHMCS 8.9 introduced PayPal Payments, our newest PayPal® payment gateway.
Why Choose PayPal Payments?
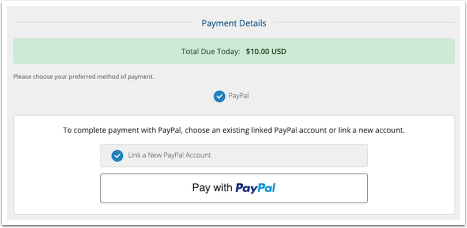
In addition to being our newest PayPal integration, PayPal Payments uses PayPal’s latest secure tokenization system. Your customers can easily store their PayPal payment details, use them for recurring payments, and select them for faster checkout on future purchases.
PayPal Payments ensures the security of your customers stored payment details with merchant-level vaulting through PayPal Vault, now available for PayPal merchant accounts in PayPal-supported countries. It also supports disputes, and you can view your current merchant account balance at Billing > Transactions List.
Activate PayPal Payments
To activate PayPal Payments in WHMCS 8.9 or later:
- Go to Configuration () > Apps & Integrations and choose the Payments category.

- Find PayPal Payments in the list and click on it.

- Click Activate. The system will redirect you to the configuration form for that payment gateway.

- Click the desired option to enter your PayPal merchant account credentials and link your account with WHMCS. You can link your live merchant account to start accepting payments right away, link a Sandbox account for testing purposes, or both.WHMCS will prompt you for permission to access your PayPal account. This is necessary in order to process payments and handle many important actions.If you don’t already have an account with PayPal, sign up for one.
- Click Confirm. The API credentials for your account will appear, WHMCS will save them automatically, and the page will refresh.
- If you entered the credentials for a live merchant account, uncheck Test Mode. We enable Test Mode by default for this payment gateway.
- If you want to display this payment gateway during checkout in the Client Area, check Show on Order Form.
- Click Save Changes.
PayPal Payments will now be available for admins when they process transactions and, if you enabled it, for clients when they complete the checkout process.

Automated Transition from Deprecated PayPal Modules
In WHMCS 8.11 and later, if PayPal Payments and a deprecated PayPal module (PayPal Basic or PayPal Checkout) are both enabled, WHMCS will transition invoices to use PayPal Payments as the preselected payment method.
- Do not deactivate the deprecated PayPal modules. For this transition to occur, they must remain enabled.
- The automated transition does not automatically hide deprecated PayPal modules during checkout. To prevent customers from paying using a deprecated PayPal module, you must uncheck Show on Order Form for each module at Configuration () > System Settings > Payment Gateways.
Display PayPal Card Payments
When you activate PayPal Payments, WHMCS also automatically activates PayPal Card Payments. This module augments PayPal Payments, allowing you the option to visually separate the PayPal checkout experience from credit and debit card payments while still processing and collecting funds using your PayPal merchant account.

PayPal Card Payments uses the account configuration that you set up for PayPal Payments. Even though PayPal Card Payments doesn’t display PayPal branding, it will still process cards securely on your website using PayPal Advanced Checkout.
If you want to display this option to clients, check Show on Order Form and save your changes.
Last modified: 2025 April 7