Create an Addon
Product addons let you offer additional items that the client can select. The system bills them separately from the product.
- For more information, see Product Addons.
- For steps to create a Sitejet Builder addon, see Create a Sitejet Builder Addon.
Create a Product Addon
You can create new product addons that you can then configure and sell for all of your customers.
To create a new product addon:
- Go to Configuration () > System Settings > Product Addons.
- Click Add New Addon.
- Select Independent Product.We only recommend using the Add-On Feature addon type for our predefined addons.
- Do not select this addon type for addons that you manually create and configure.
- For steps to create a predefined addon, see Create a Predefined Addon below.
- Configure the settings in the available tabs.For descriptions of all of the available settings, see Product Addons.
- Click Save Changes.
When you manage addons, you cannot delete addons that are active purchases for a customer.
Create a Predefined Addon
In WHMCS 8.2 and later, you can create predefined addons that already include specific configuration settings, like the predefined addons to offer WP Toolkit Deluxe or Sitejet Builder.
To create a new predefined addon:
- Go to Configuration () > System Settings > Product Addons.
- Click the desired predefined addon in the Predefined Addons section.The Predefined Addons section also includes MarketConnect items. Click a MarketConnect product to display the Learn More tab for that product’s MarketConnect listing.
- Configure the remaining settings in the available tabs.
- Some settings may be unavailable for certain predefined addons (for example, you cannot select a different module for a cPanel-specific addon).
- You can configure the remaining settings as normal.For descriptions of all of the available settings, see Product Addons.
- Click Save Changes.
Create a Custom Addon
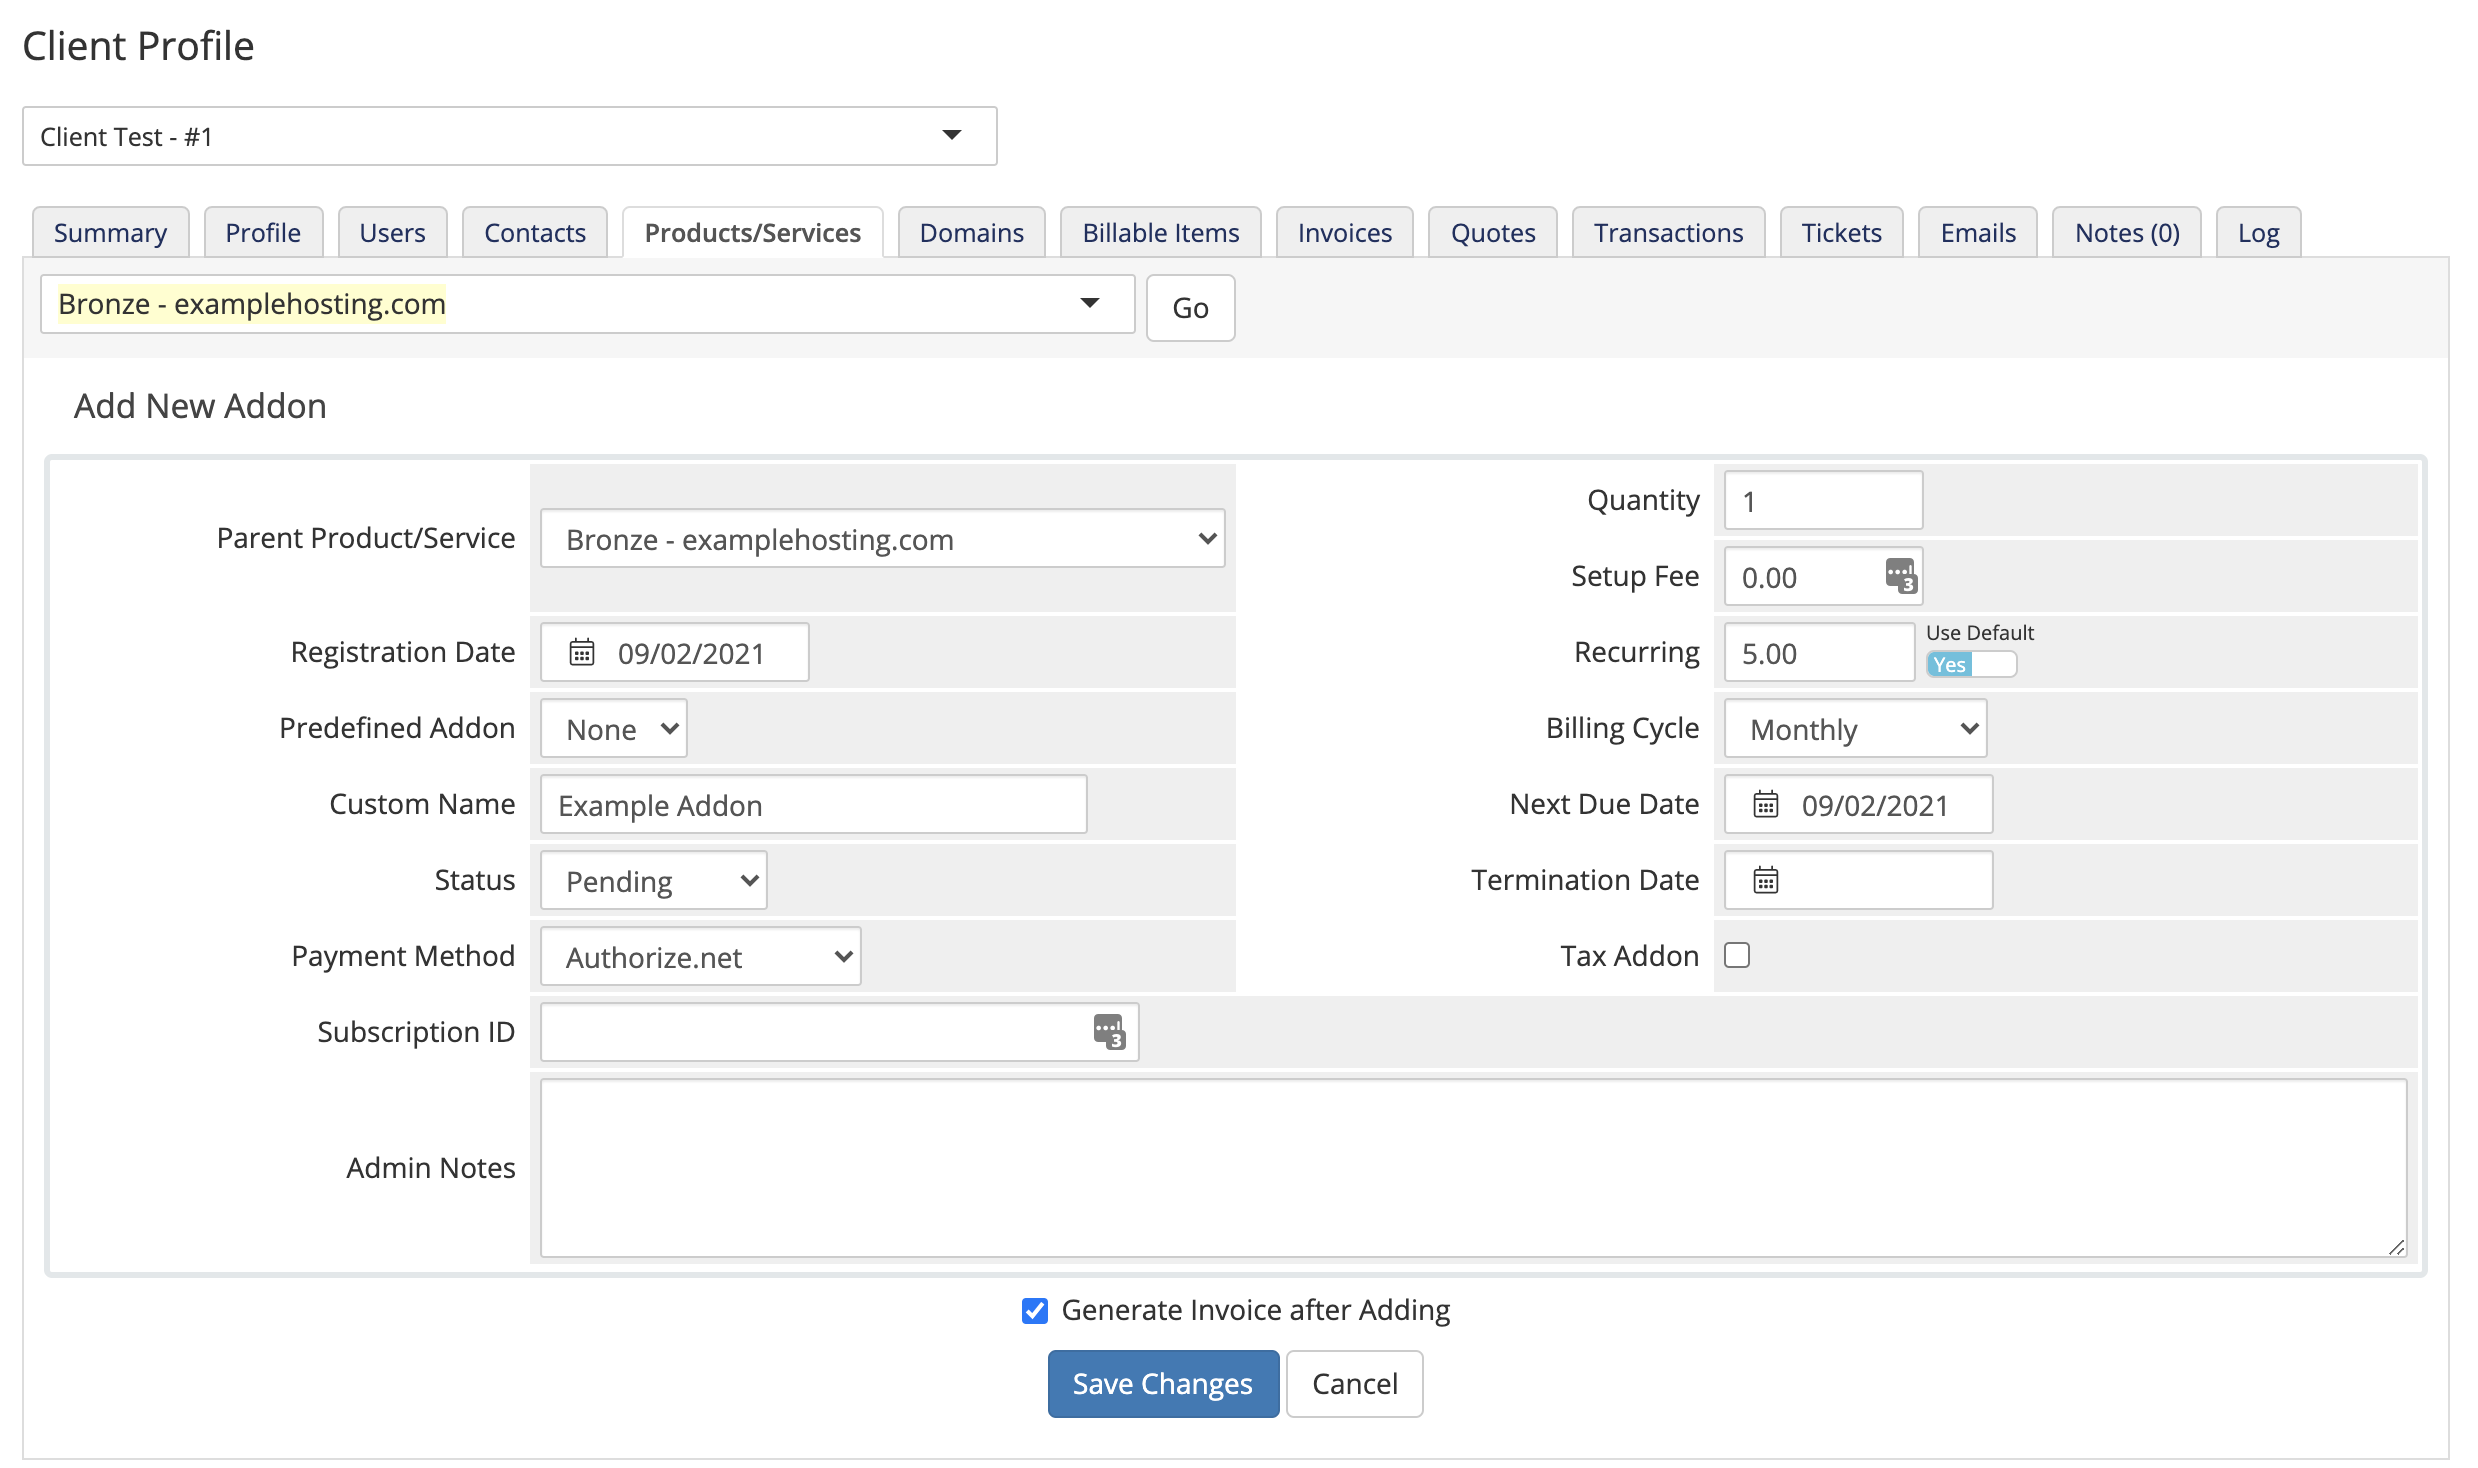
You can create custom addons for specific clients.

To add a custom addon for a client:
- Go to the Products/Services tab in the client profile.
- Click Click here to Manage for Addons.
- Click Add New Addon.
- Configure your addon type:
- If you are adding a predefined addon, select it and leave the name, price, and billing cycle empty.
- If you are adding a custom addon that will be specific to this client, set Predefined Addon to None and enter a custom name, price, and cycle.
- To delay generation of the invoice, uncheck Generate Invoice after Adding.
- Click Save Changes.
Last modified: 2025 March 19