Create a Server
Before you can sell and provision hosting accounts, you must add at least one server to your WHMCS installation. WHMCS supports many server types and the process for adding each type is similar.
- For more information, see your server module’s documentation.
- For specific steps for the most popular server modules, see:
Create a Server
To add your server to WHMCS:
1. Log in to WHMCS.
Log in to the WHMCS Admin Area.
2. Add a new server.
Go to Configuration () > System Settings > Servers and click Add New Server.
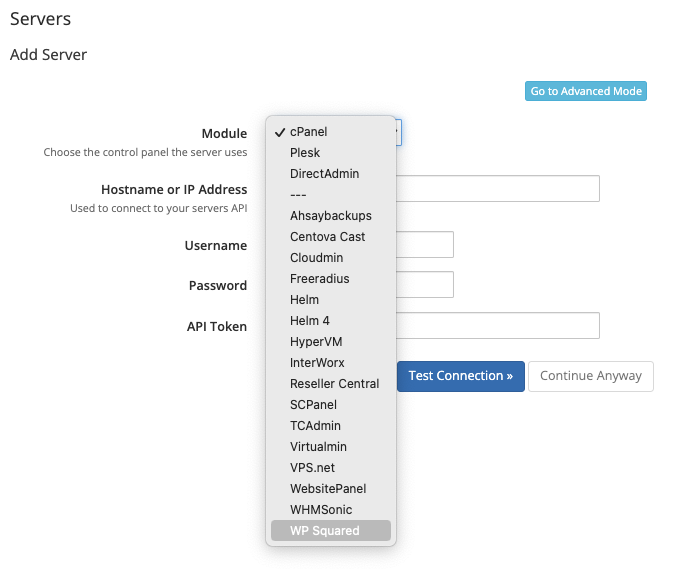
3. Select the a module.
Select your server’s control panel for Module.
4. Enter your server settings.
Enter the server information that your module requires. For example, most modules require the server IP address or hostname and your access credentials.
5. Test the server connection.
Click Test Connection to ensure that WHMCS is able to communicate. A success message will appear.
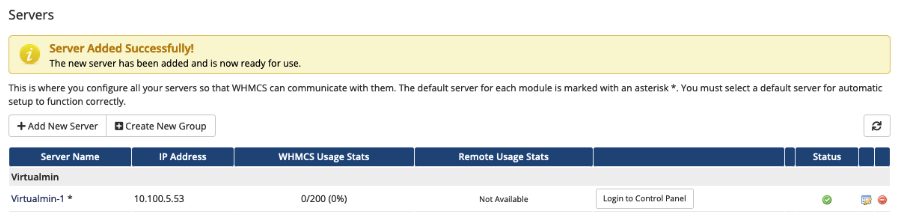
6. Save your changes.
Click Save Changes.
The Servers interface will appear and display the newly-created server in the list:
Last modified: 2025 April 7